
Windows PowerShell
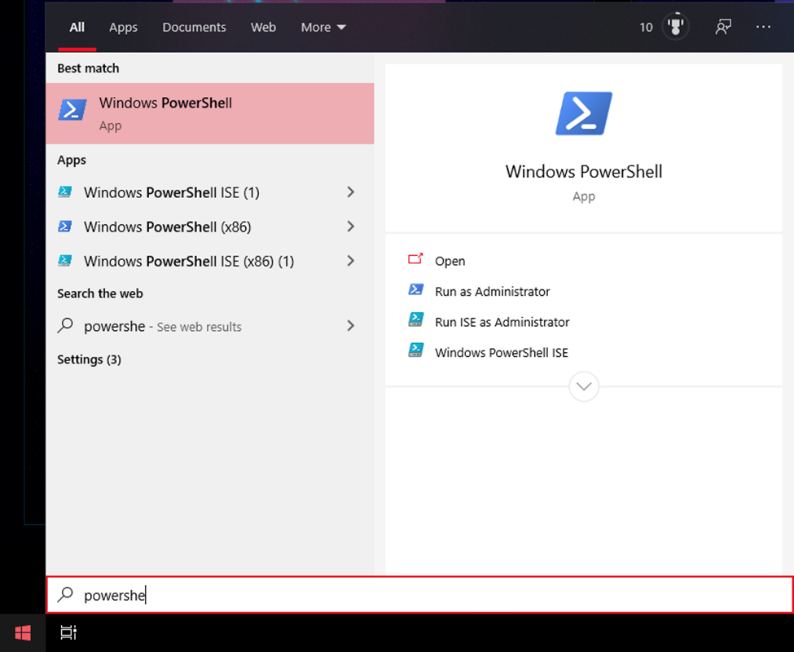
The Windows 10 logs can be viewed either in the Command Prompt or in the PowerShell and there is no difference in the commands used. PowerShell, however, allows for a script to be written in order to automate the log process. To navigate to PowerShell, type powershell in the start menu. To enter the correct PowerShell app, the Windows PowerShell (highlighted in red) should be selected.
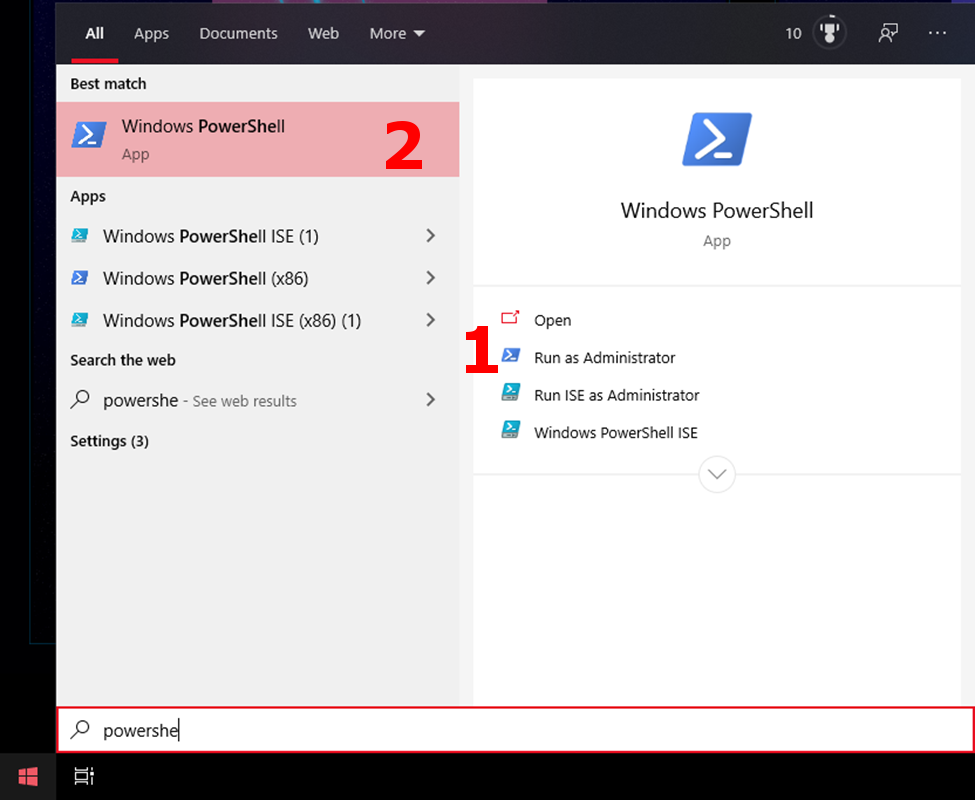
Much like the Command Prompt, PowerShell should be entered as an administrator and there are two ways to do so. The first is to click on number 1 (shown below) or right click on number 2 and select “run as administrator”. If the column on the right is not shown on your machine, simply use number 2.
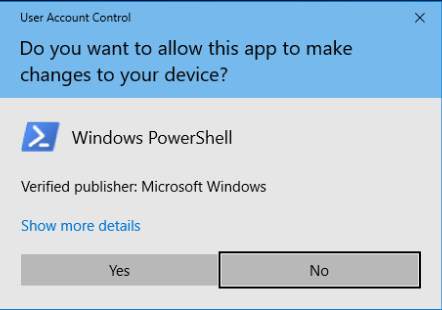
Upon launching PowerShell as an administrator as an administrator, a popup may appear stating “Do you want to allow this app to make changes to your device?”. If prompted with this popup, click yes to continue.
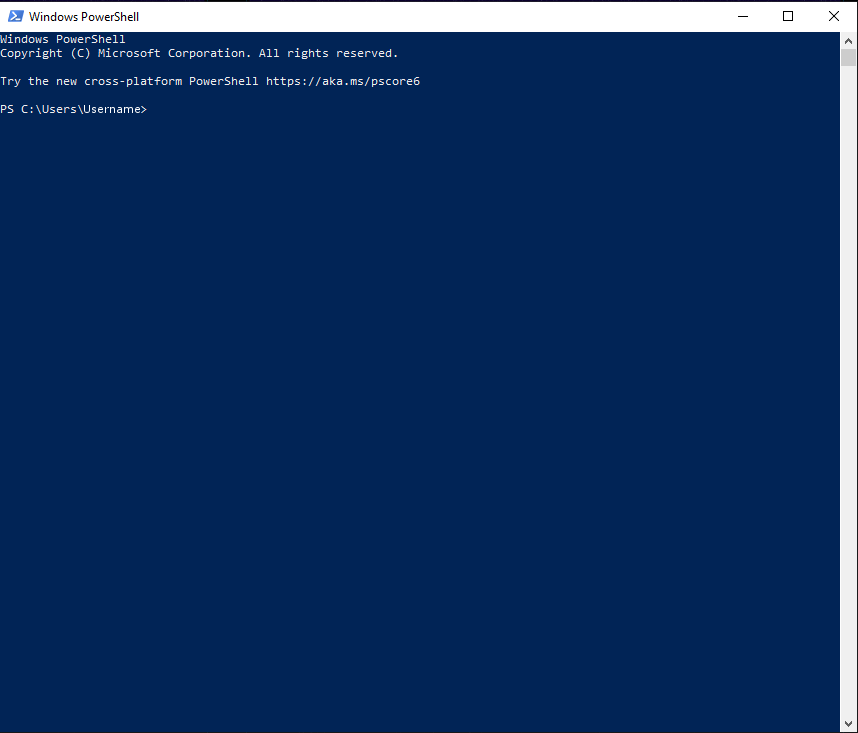
Upon opening, Powershell displays this screen, which does not display much information to the user.
In order to navigate to the correct location for the log files, enter the
command cd C:\WINDOWS\system32

Windows PowerShell should be launched as an administrator in order to view logs as the location of the logs requires administrator access. If the PowerShell is launched without permissions, the output will not actually give the user any information.
